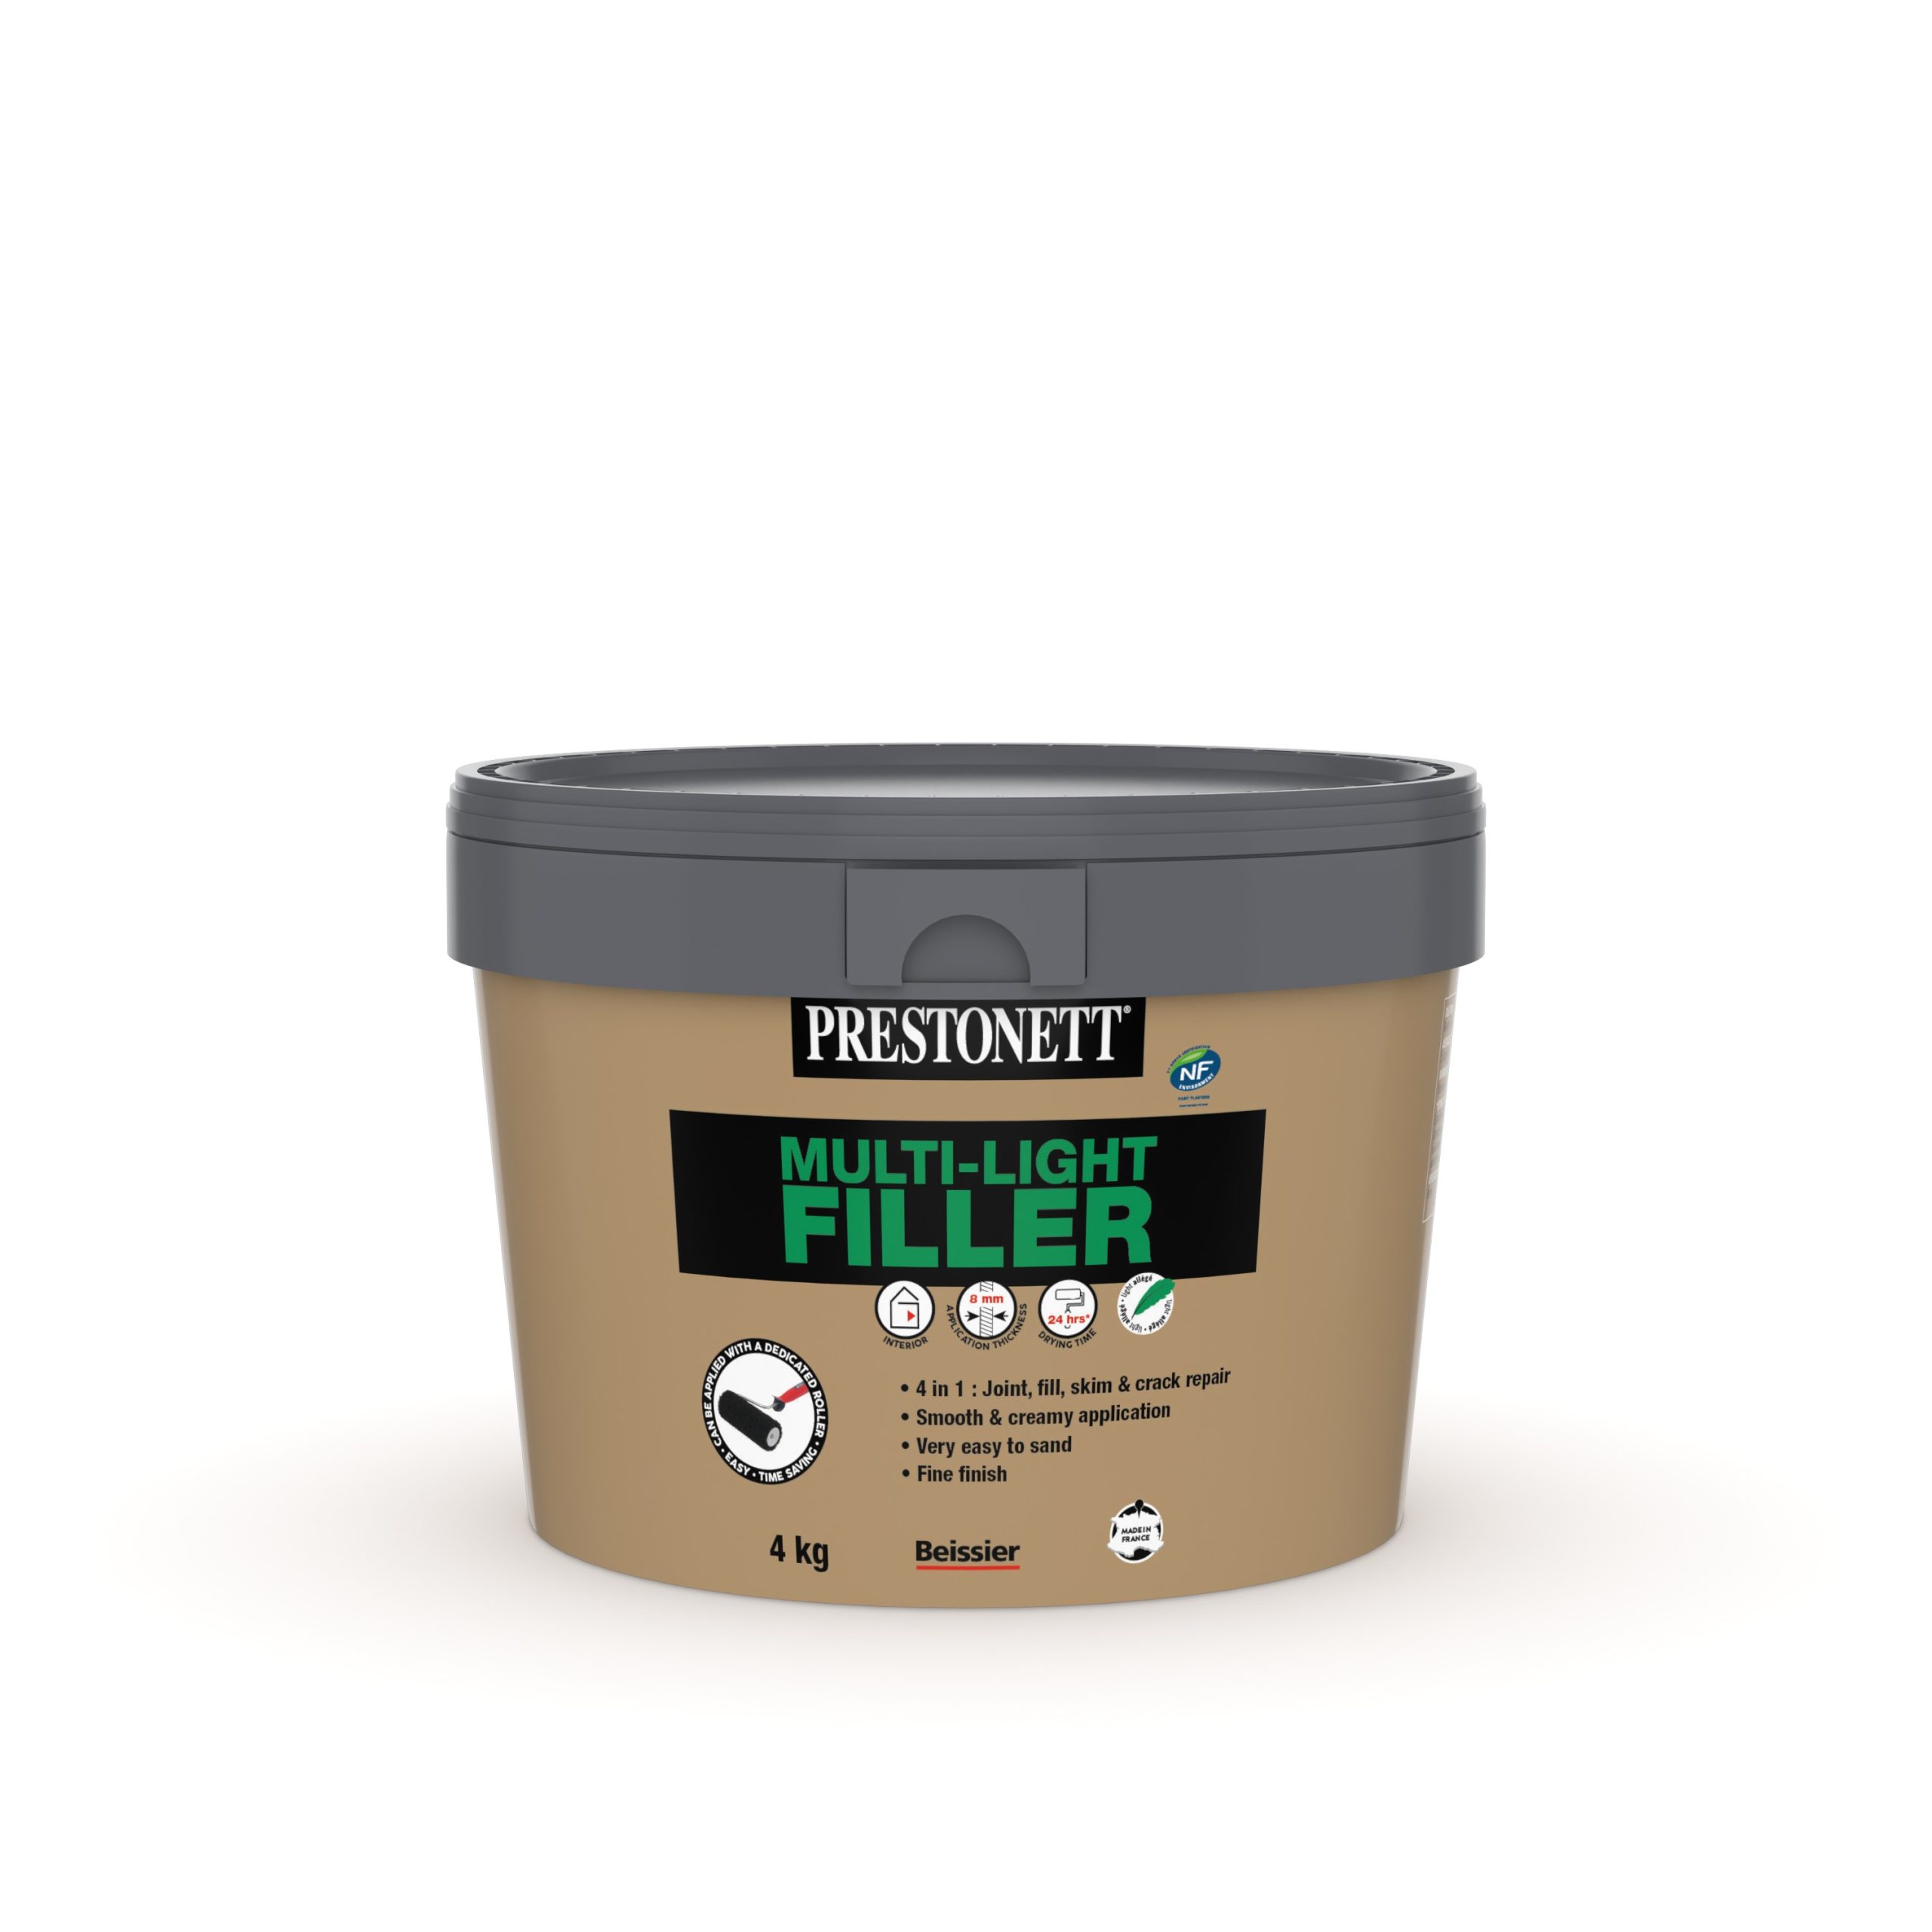
Product info
- Filler
- No thickness limitations
- Easy to sand
Our categories
By brands
By application
This article was useful to 5 person(s)
Noticing microcracks on your walls? It’s time to fix it! Raphaël Estrella, expert and technical advisor at Beissier, explains step-by-step how to treat them.
Microcracks are quite common and can appear on walls and ceilings. They are visible to the naked eye, with widths ranging from 0.2 mm to 2 mm. They can appear in a stair-step pattern or run horizontally or vertically. These microcracks are generally caused by structural movement. The ground on which buildings are constructed can shift, and vibrations can be felt in the foundations and reflected in the structures, causing these microcracks.
Other causes include improper mixing, especially with water, during the application of plaster, changing weather conditions, or rapid drying.
First, assess the surface by tapping with your hand or the back of a tool (like a plaster knife) to locate any hollow areas. This will help you identify all the cracks so you can start filling them.
Next, use a triangular knife to open the cracks and remove any loose material. Before applying the filler, dust the area to ensure better adhesion and prevent detachment, micro-bubbles, or blistering.
Then, fill the crack with your filler using a painter’s knife. Raphaël, our expert, recommends Prestonett Flexible Crack Repair Filler. Rich in fiber and resin, its elasticity allows it to withstand movements. Before letting it dry for 12 hours, make sure to roughly smooth the applied filler with a broad knife.
If the filler shrinks slightly after drying, repeat the filling process.
You can then completely cover the surface with a filler or by embedding a reinforcing mesh. For this operation, refer to the video “How to Apply a Reinforcing Mesh”.
After completing these steps, your wall will be smooth, the finish will be perfect, and you will no longer have microcracks!
Jérémy is the author of this page. By giving your opinion on this content, you will help improve its content