


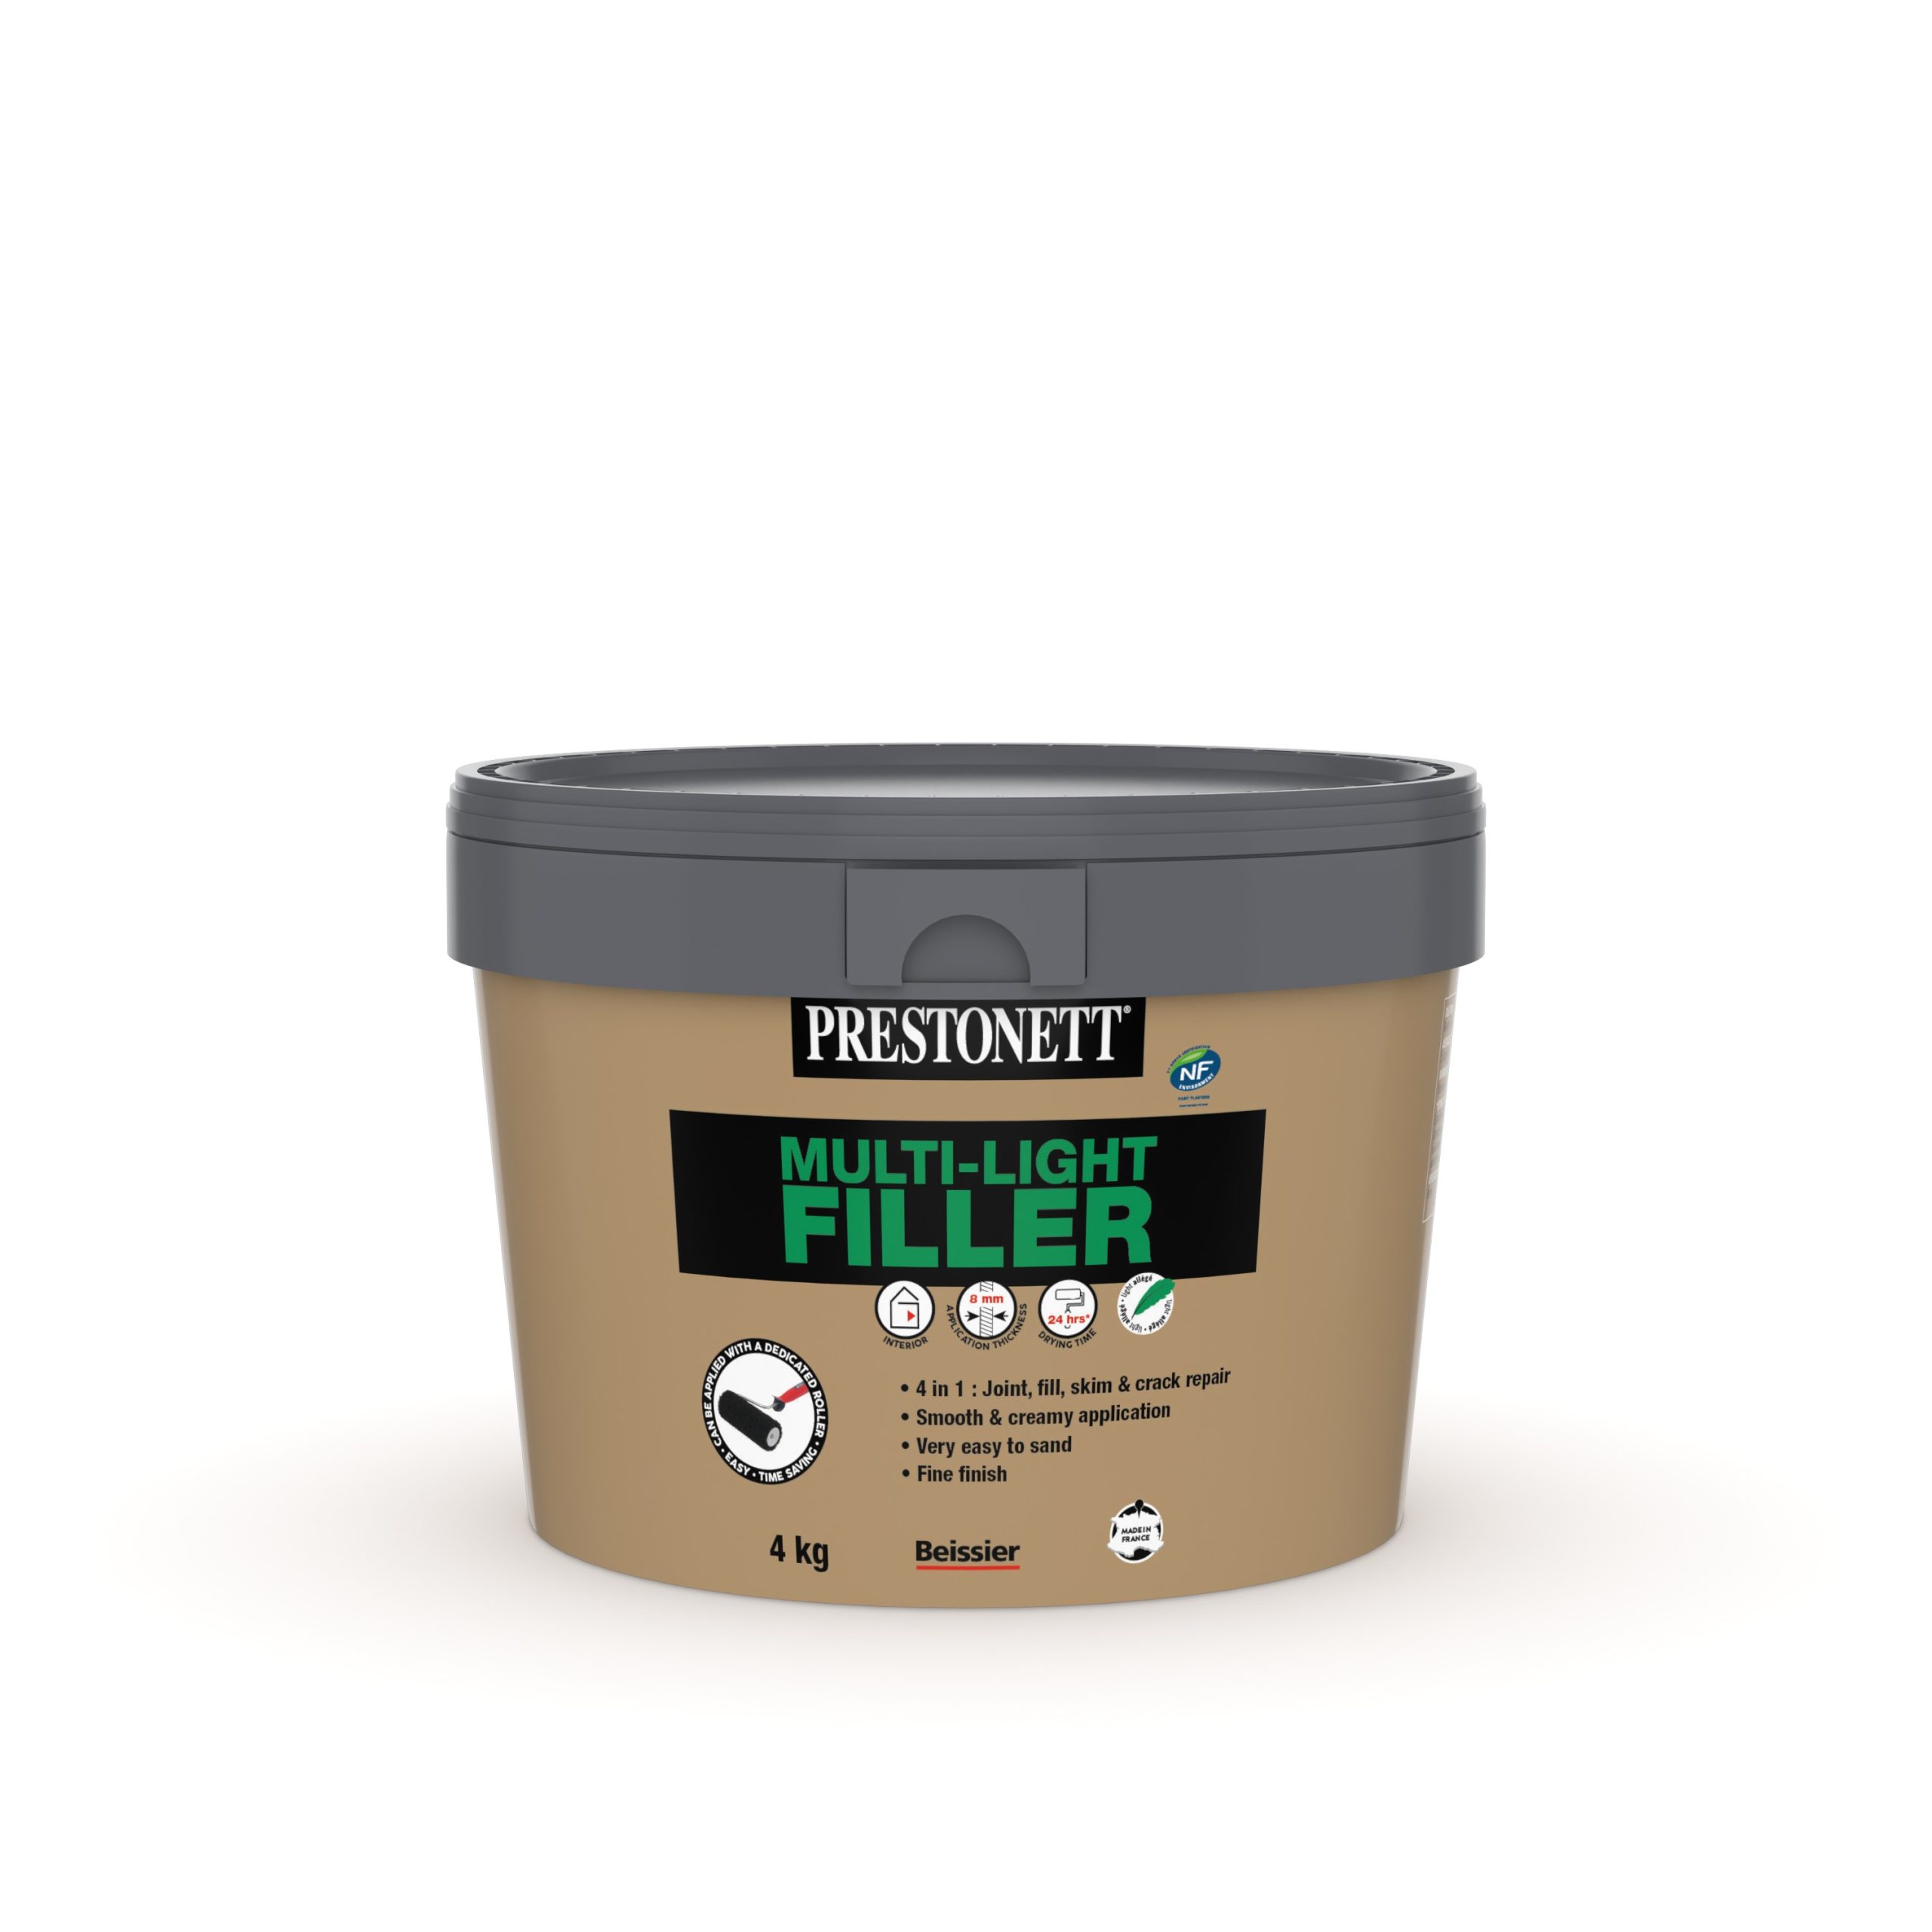
Product info
- 4 in 1
- Fills up to 8 mm
- Very smooth application
Our categories
By brands
By application
This article was useful to 0 person(s)
A well-known and unfortunately frequent issue for painters and coating professionals, micro-bubbling can cause significant delays on a worksite and severely impact the quality of the final finish. Here’s what you need to know about micro-bubbling: its causes, how to prevent it, and how to correct it if it has already appeared on your surface.
Micro-bubbling refers to the formation of numerous tiny air bubbles during the application of coatings or paint. Not only does it look unappealing, but it can also be a disaster for the subsequent painting stage, making it a real headache on a project.
Unfortunately, there are multiple causes of micro-bubbling:
Micro-bubbling is therefore a physical reaction of the substrate to certain conditions rather than a flaw in the coating itself.
Once you understand why micro-bubbling occurs, it becomes easier to prevent it.
Beissier experts recommend using a spiked roller or a wallpaper perforator roller. In his demonstration, the expert specifically used a Fakir roller.
This tool pre-perforates the surface before coating, recreating the necessary micro-porosity in the substrate. This ensures proper gas exchange, effectively preventing micro-bubbling—an ideal solution for renovation projects.
For new surfaces, however, it is essential to apply a thin primer coat before the coating application to ensure proper adhesion and avoid bubbling.
If the surface was not properly prepared and micro-bubbling has occurred after application, don’t worry—it can still be fixed.
To correct micro-bubbling, follow these steps:
Alternatively, if the coating has already dried with micro-bubbles, you can:
By following these techniques, you can ensure a flawless result and avoid unnecessary time-consuming corrections on-site.
Jérémy is the author of this page. By giving your opinion on this content, you will help improve its content


